With Ivy Bridge based Apple computers and OS X 10.8 Mountain Lion out, it’s time to build an Ivy Bridge Hackintosh! Below is my walkthrough for building a capable workstation that can run both Windows and OS X. But first, meet the components of this build:
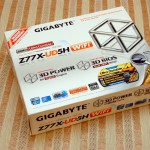
Motherboard Gigabyte Intel Z77 LGA1155 ATX Motherboard GA-Z77X-UD5H-WB WiFi with Bluetooth 4.0/Wi-Fi Expansion Card or Gigabyte Intel Z77 LGA 1155 ATX Motherboard GA-Z77X-UD5H
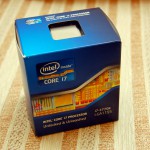
CPU Intel Core i7-3770K Quad-Core Processor 3.5 GHz 6 MB Cache LGA 1155
CPU Cooler Cooler Master Hyper 212 EVO CPU Cooler with 120mm PWM Fan
RAM Corsair Vengeance 16 GB (2x8GB) DDR3 1600MHz DIMM Memory
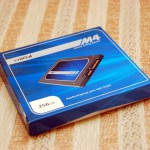
Storage Crucial 256 GB m4 2.5-Inch Solid State Drive SATA 6Gb/s
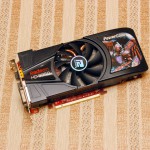
Optional, discrete GPU card for more FPS PowerColor ATI Radeon HD6850 1 GB DDR5 PCI-Express Video Card
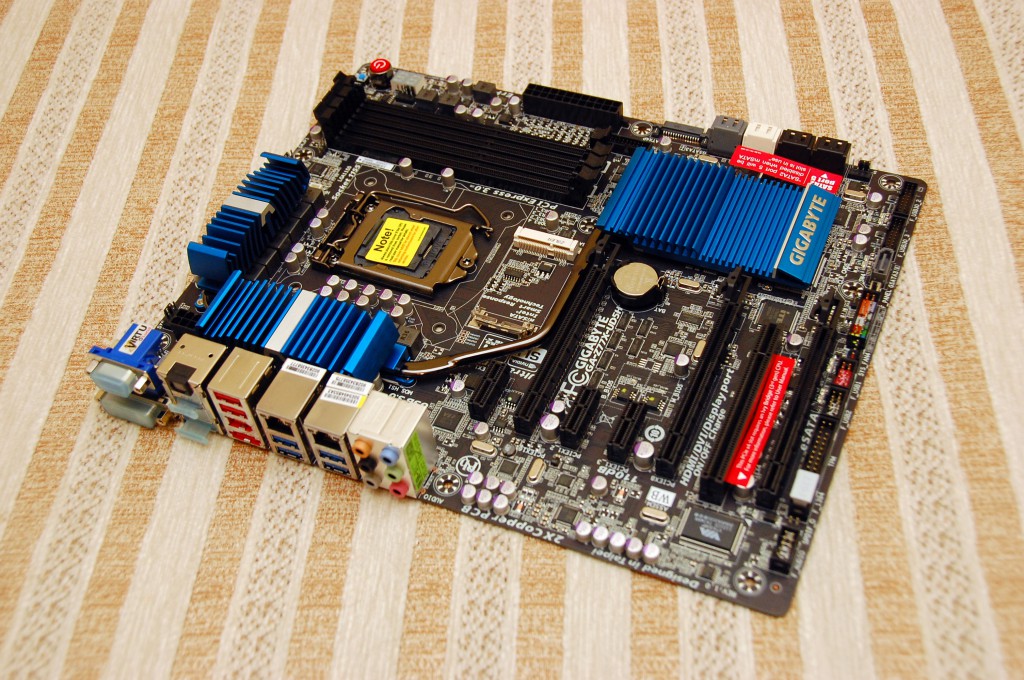
Here is the GA-Z77X-UD5H motherboard in it’s full glory. Note the 3rd PCI-e slot that’s usable only with Ivy Bridge CPUs. This is a Gigabyte special for driving even more monitors. With all 3 PCI-e x16 slots populated with GPU cards, they operate in x4/x4/x4 mode, so do not expect lots of fps performance.
For some unknown reason, I’ve decided to install the RAM first, then the CPU and its cooler. However, I’ve encountered no problems later on while installing the cooler.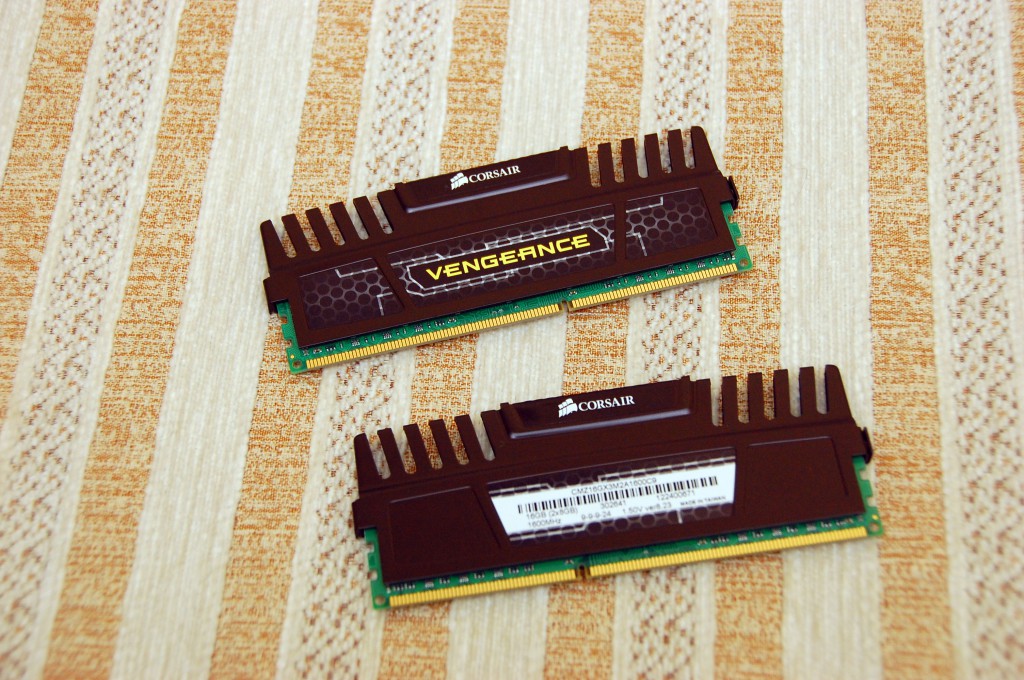
Note the bolder stroke on the motherboard’s PCB around the first and third slots – makes self-explanatory where your two RAM sticks should be installed.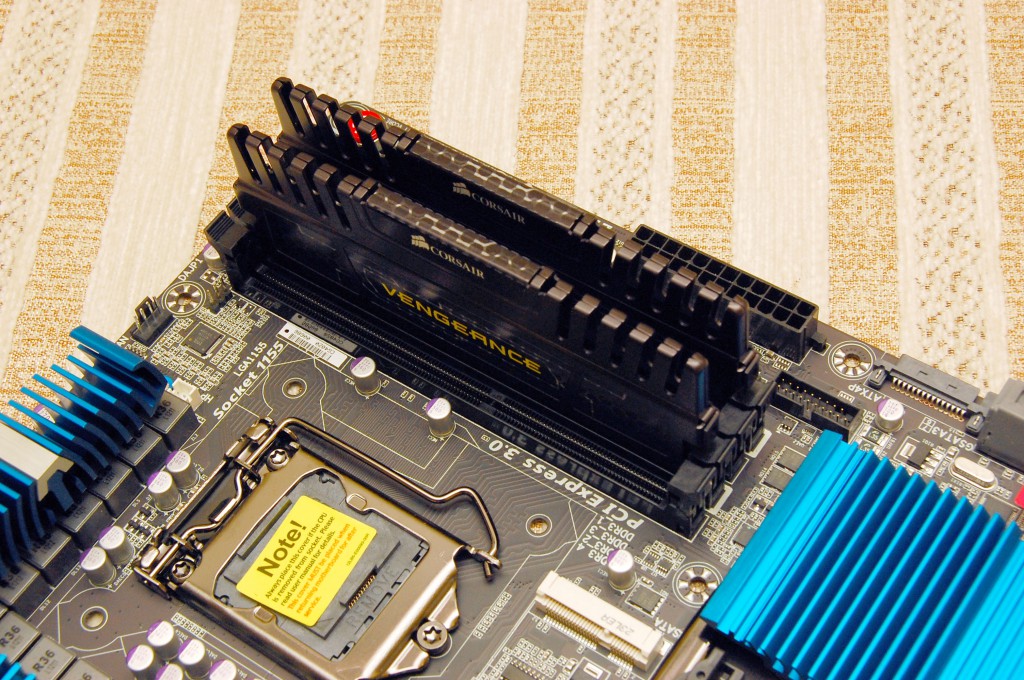
The CPU goes in next. Open the socket latch, rotate the CPU as pictured to match the 2 tabs on the slot, put it in and finally close the latch. Here is the Intel i7-i3770k installed.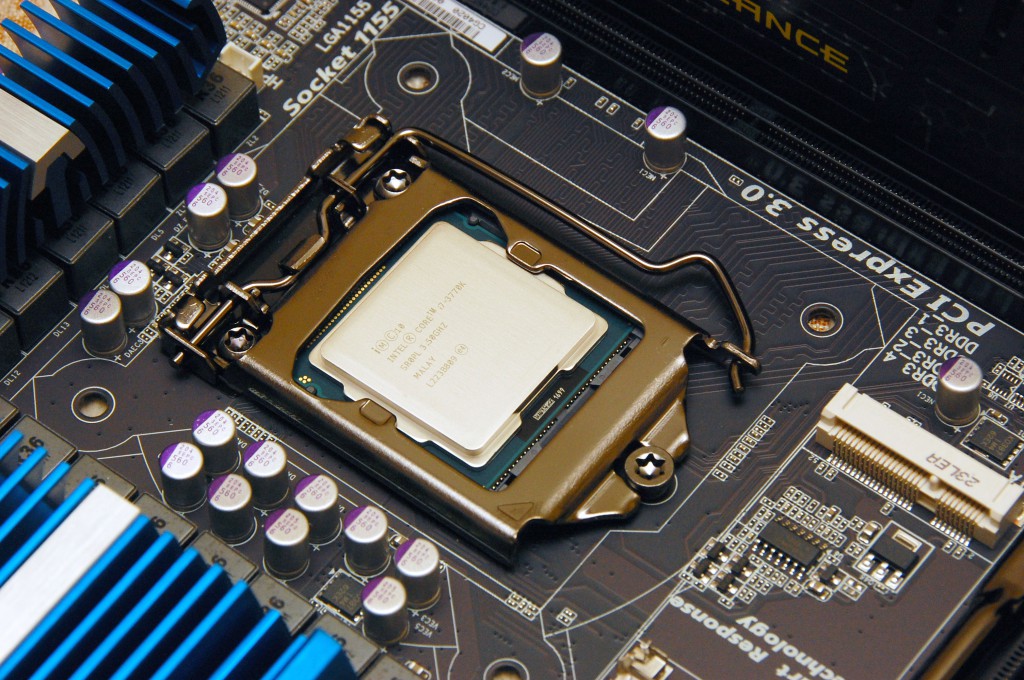
The CoolerMaster Hyper 212 EVO CPU cooler is very universal and adapts to all kind of sockets including the socket 775, 1155 and 2011 motherboards. For the GA-Z77X-UD5H, as well as other socket 1155 motherboards, you need to use the middle bolt position on the backplate. Tighten the bolts in a diagonal fashion to properly distribute the torque.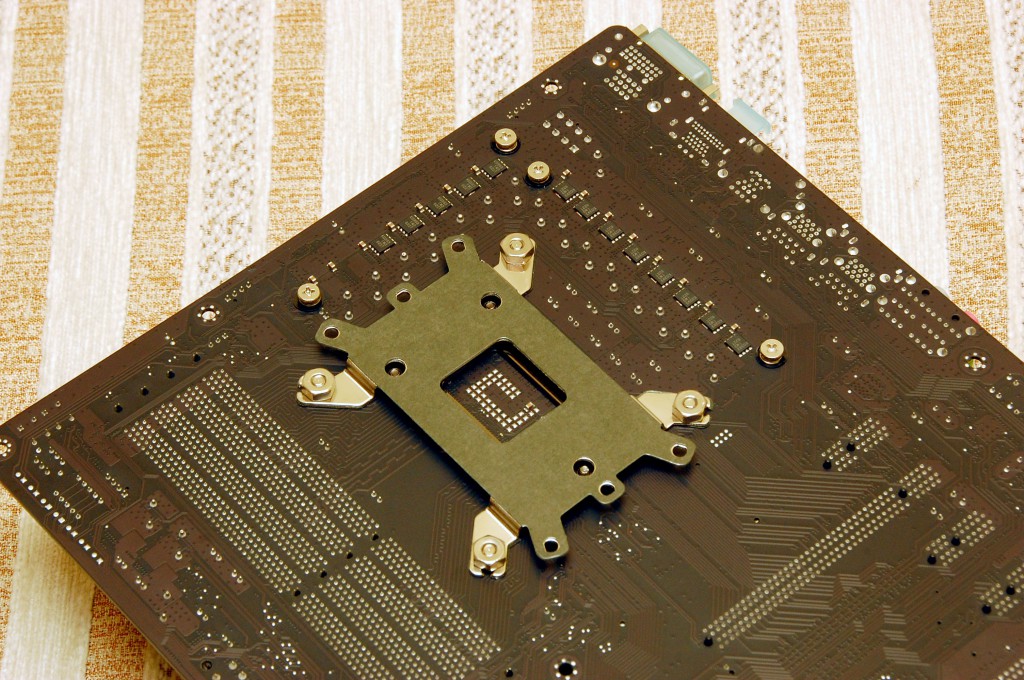
The Hyper 212 EVO cooler comes with its own thermal paste, that has proven to be quite decent one. I’ve yet to see temperatures above 50 degrees Celsius on full load. Apply a small, bean-sized amount of the paste on the CPU using the supplied syringe.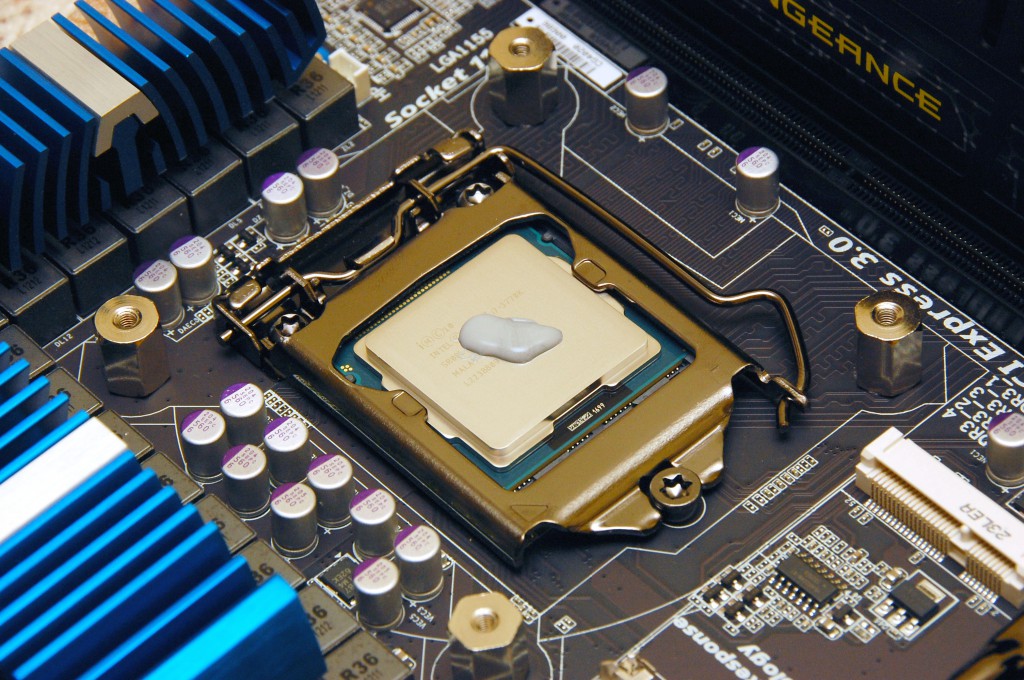
Use a thin, preferably non-conductive material (a plastic grocery or Visa card work great) to spread the thermal paste over the CPU. Make sure not to overdo and stay on the upper contact pad.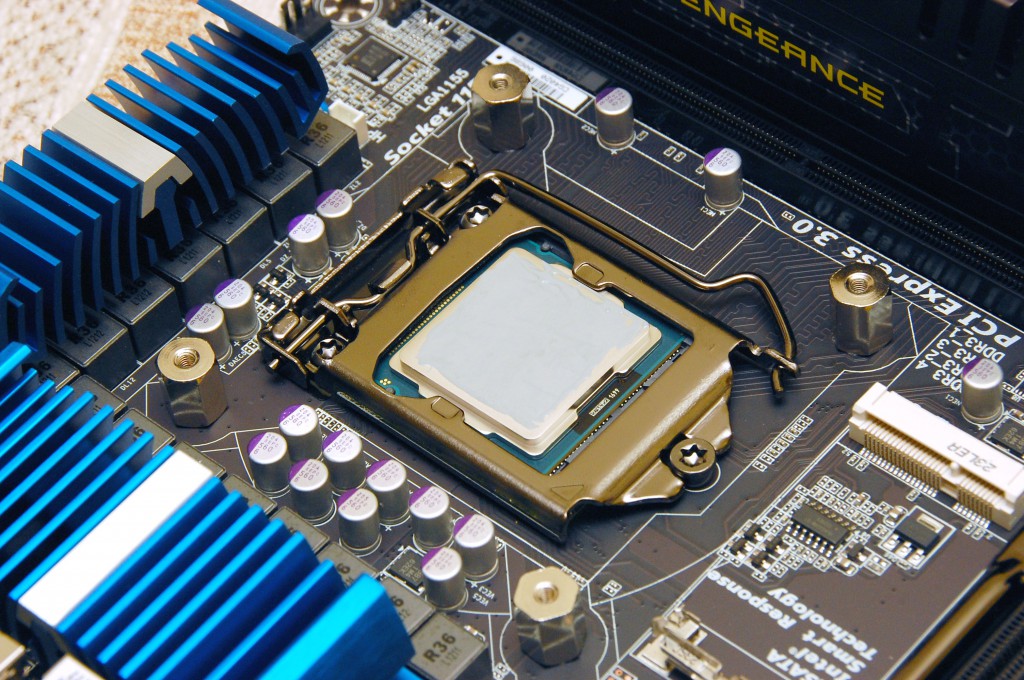
Remove the fan from the CPU cooler by unlatching two tabs on one side of the fan and then sliding the fan off the cooler. Insert the cooler mounting bracket between the fins and the heat sink base, then spread its legs to match the mounting nuts on the motherboard. There is a single pin on the sink base that should fit into a grove on the bracket’s central junction – make sure you have oriented the bracket correctly.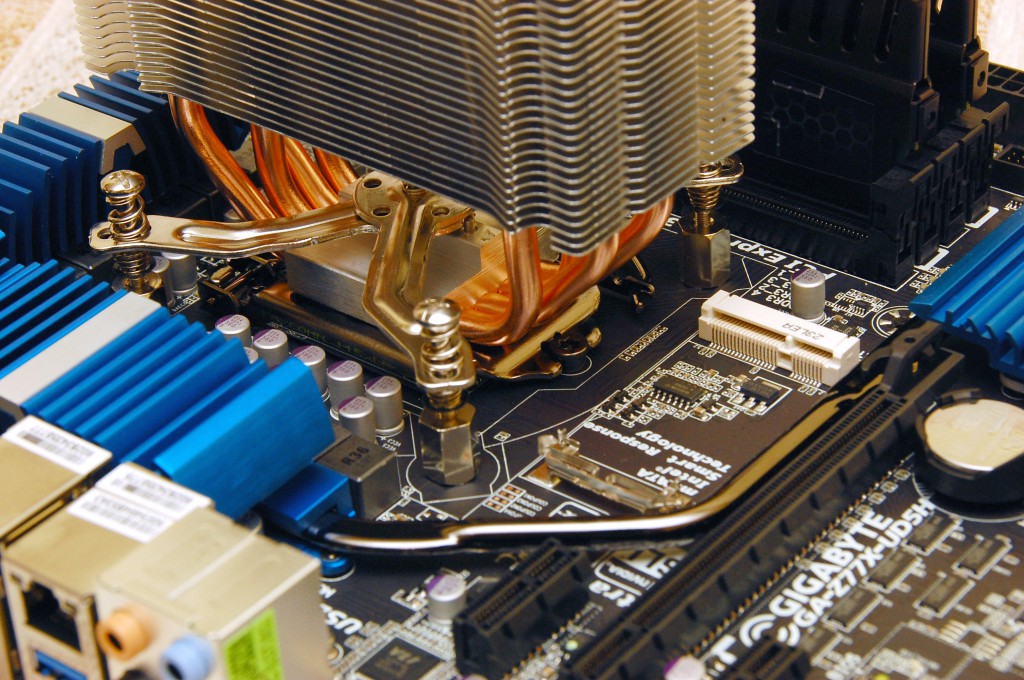
Slowly lower the cooler until the heat sink base touches the thermal paste on the CPU. Try not to move the cooler much to avoid thermal paste further spreading around. Screw the bolts by hand one or two turns so they thread into the nuts; tighten the bolts in a diagonal order to spread the tension properly across the sides.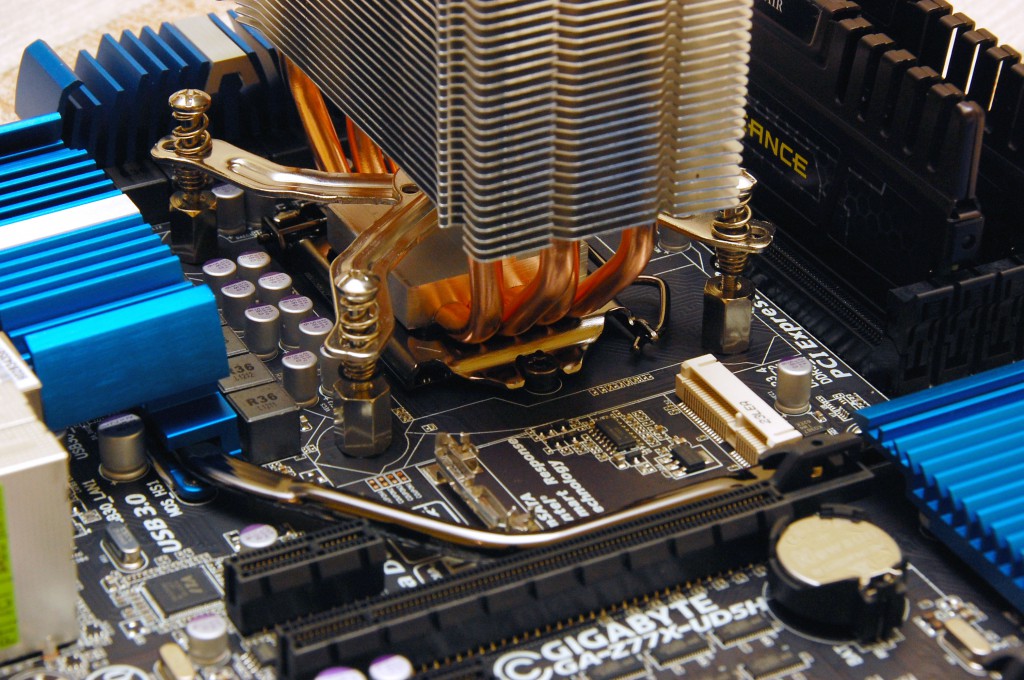
After all four bolts are securely holding the bracket with the cooler attached to it, use a philips screwdriver to screw them down, again going diagonally from bolt to bolt. Don’t over-tighten the bolts though, you don’t want too much stress on the CPU and its socket.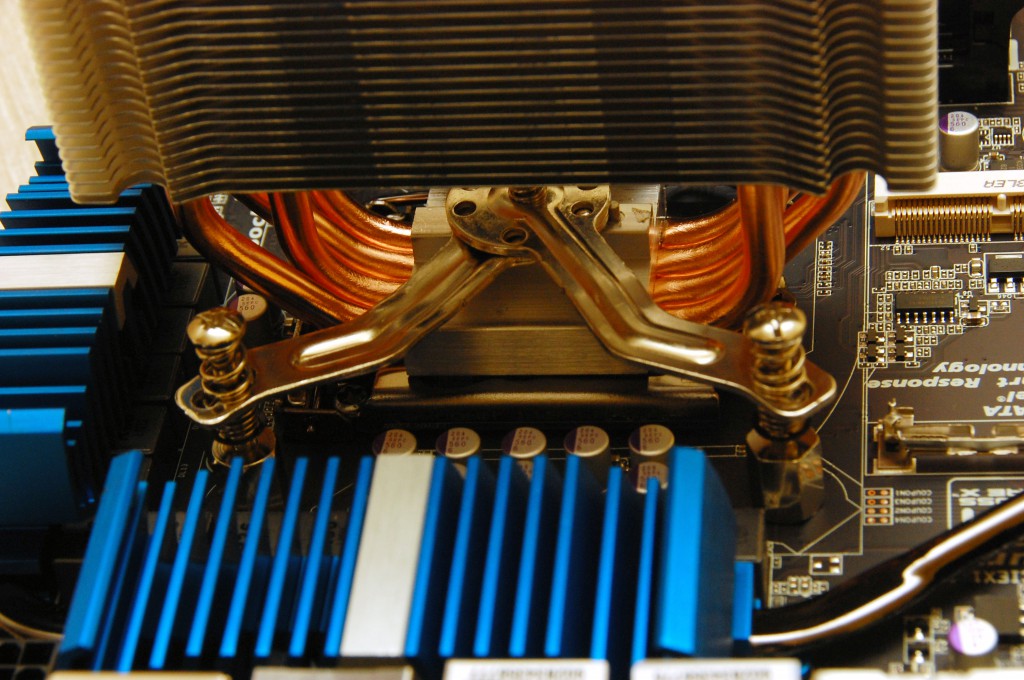
Here is the motherboard with RAM and cooler installed, it’s quite a large one, isn’t it?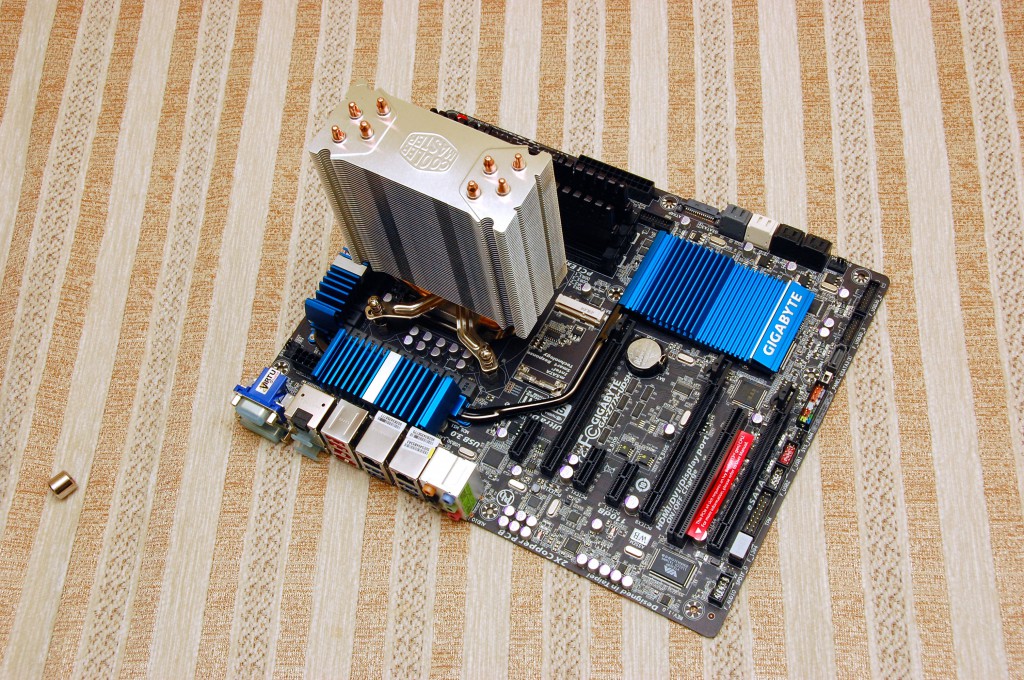
Slowly slide the cooler fan between the cooler and the RAM module until its fully aligned against the cooler, then push it into the groves on one side of the cooler, then the other. Attach the 4 pin PWM power connector to the “CPU FAN” connector located on the motherboard between the RAM slots and the upper blue heat sink.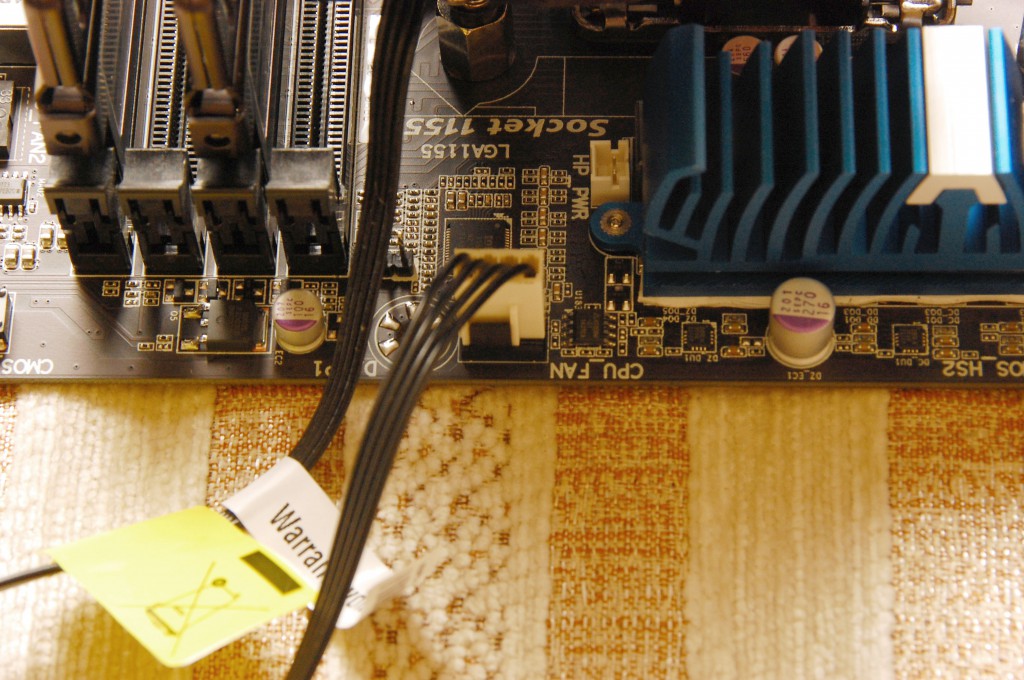
As you can see, there is still room for a high-profile RAM module in the 4th slot, so there is no need to pay more for low-profile RAM modules.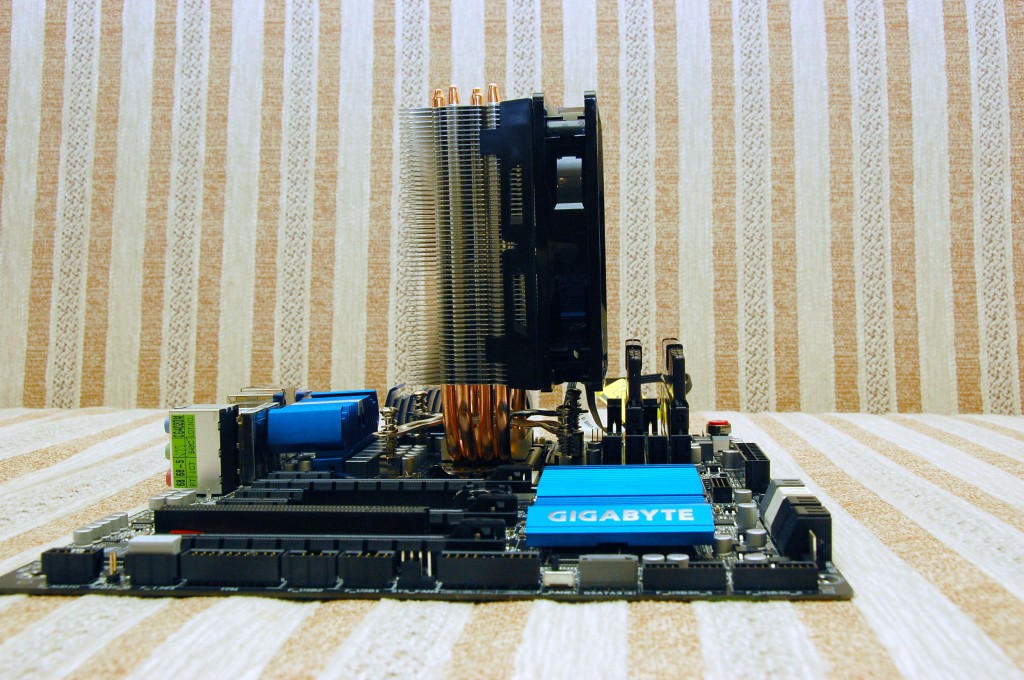
Here is another view of the motherboard. The black fan matches nicely the RAM color 🙂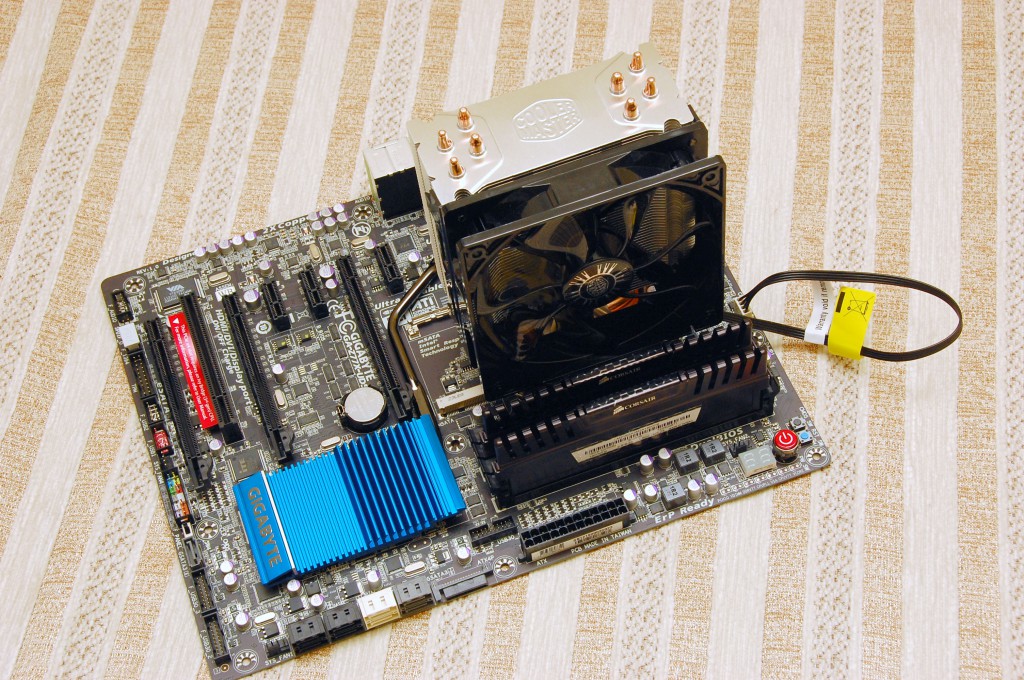
For my workstation, I’ve chosen the Crucial M4 256Gb SSD as the primary disk connected to the white SATA3 (6Gb/s) port on the motherboard.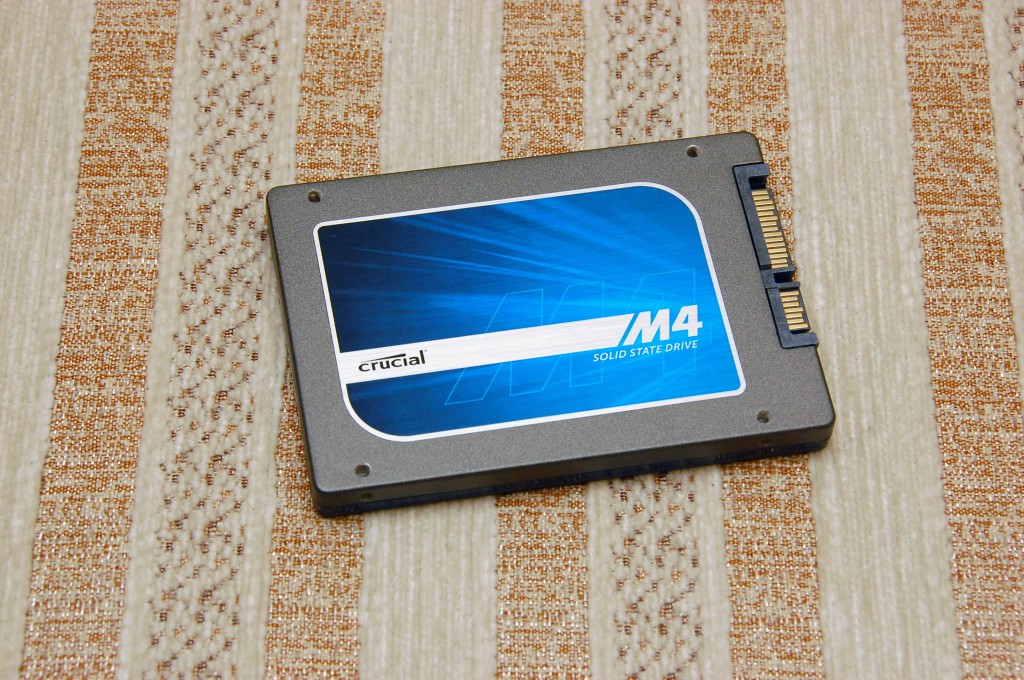
I had some problems with the 000F firmware, and had to downgrade it to 0309 firmware.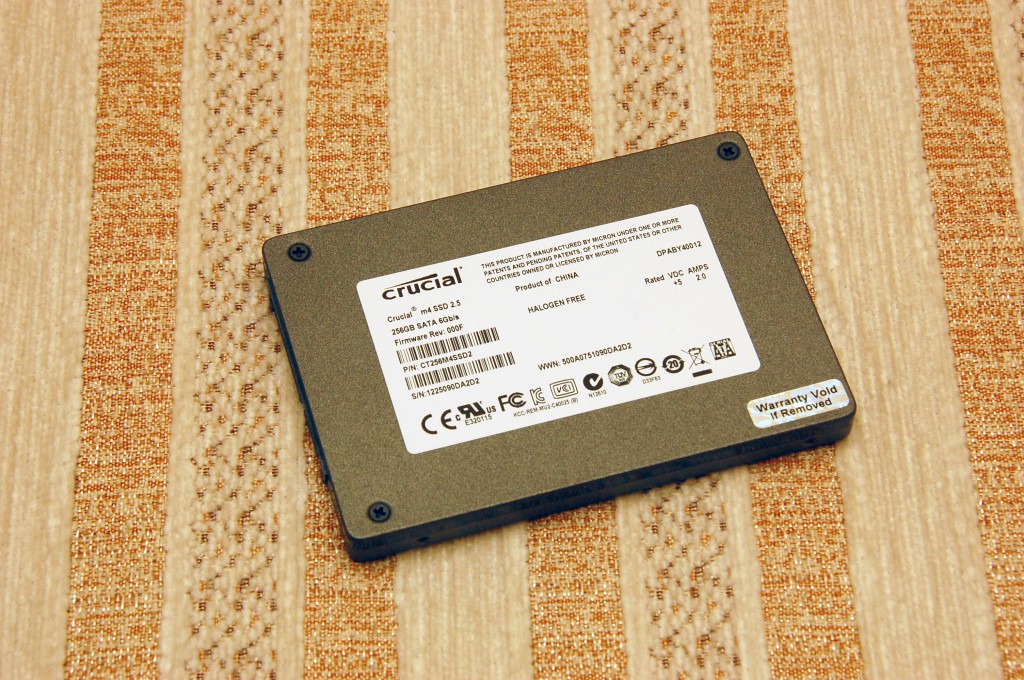
I was able to add my existing PowerColor ATI Radeon HD 6850 card without much effort, as it’s working natively on OS X without any additional drivers. As it initialises after the internal HD4000, nothing gets displayed on it until the system is booted, so if your primary display is connected to the 6850, you won’t see any POST messages on it as they are being displayed on the motherboard’s / HD4000’s ports. 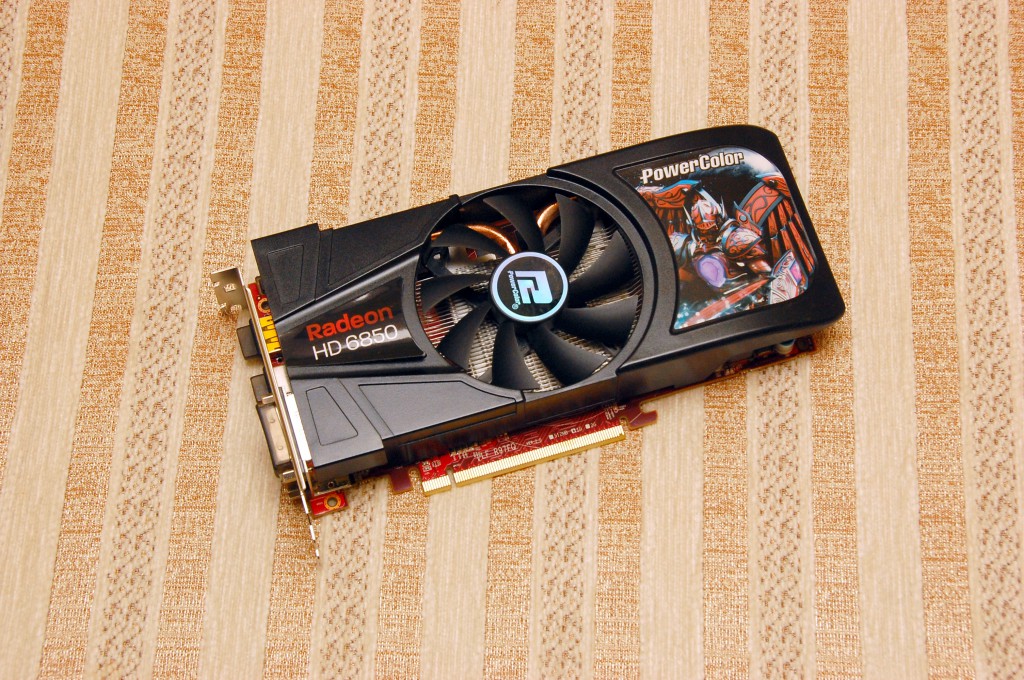
The Gigabyte Z77X-UD5H WiFi obviously comes with an extra WiFi PCI-e x1 board. Unfortunately the board is lacking OS X drivers, and while there were reports some people were able to get the Bluetooth part detected in OS X, it still doesn’t work, neither does the WiFi part.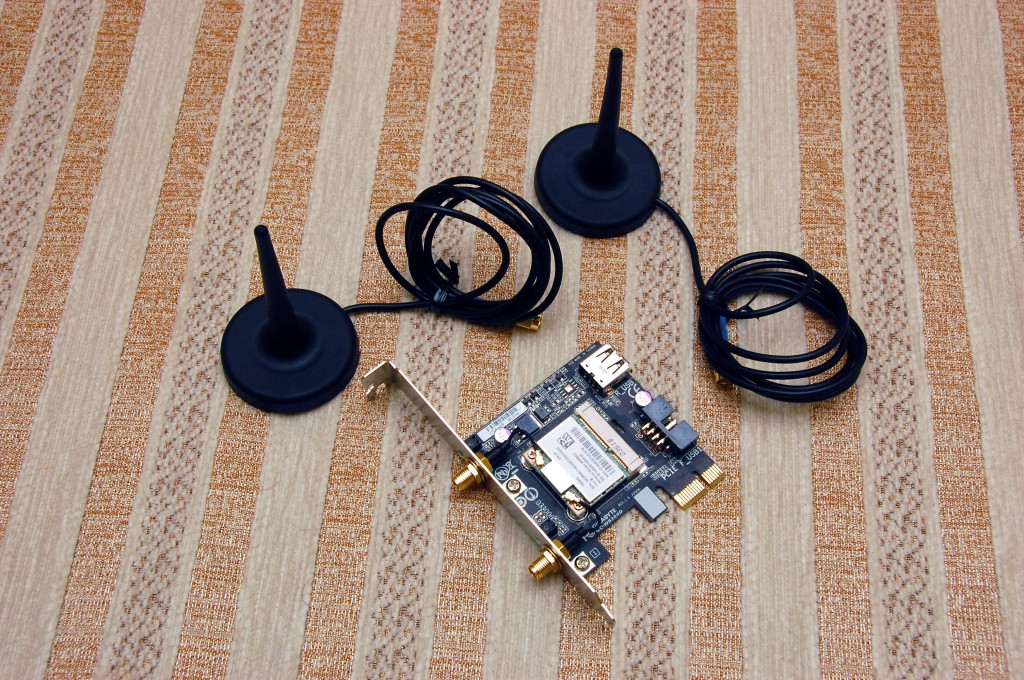
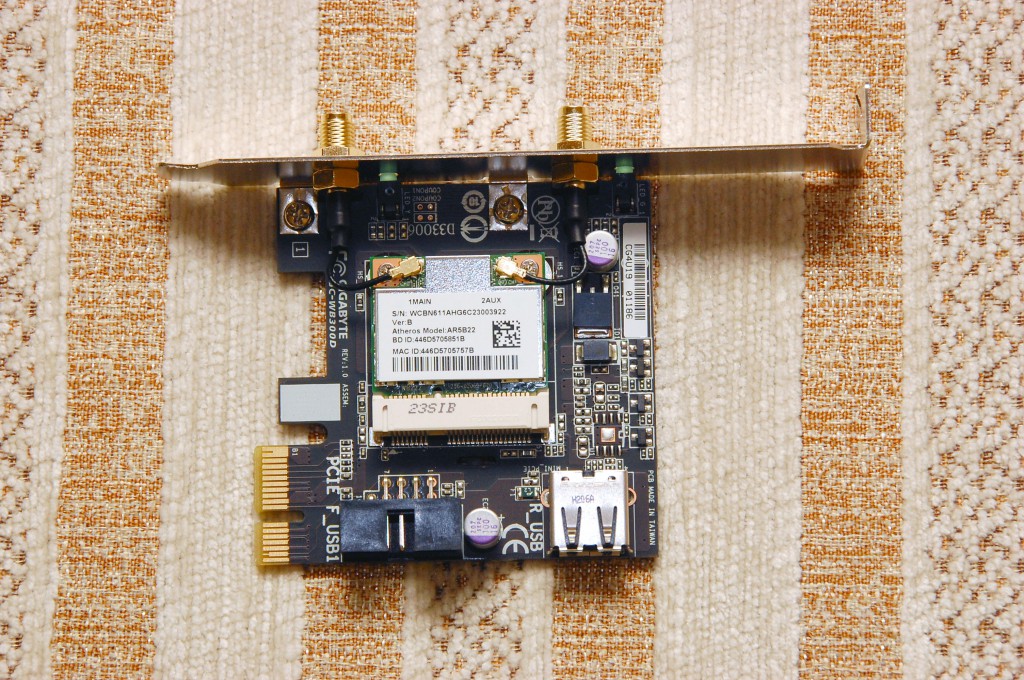
Here is a closer photo of the board. The left connector on the top is the bluetooth antenna, and the right one is the WiFi antenna connector. You connect the black USB header to one of the motherboard USB headers for the Bluetooth operation, however the WiFi part of the miniPCI-e board works through the PCI-e connection.
Installing the OS X 10.8.1 Mountain Lion on your Hackintosh
First, this guide implies that you have access to a working Mac. You’ll need it to purchase the OS X Mountain Lion from the App Store, download it and prepare a USB flash drive installer using the UniBeast utility.
Start your new computer, and press DELETE to enter the UEFI 3D Bios. Go into the Advanced menu and make sure SATA controller is in the AHCI mode, the HPET and Intel Virtualization Technology options are enabled, Init Display First is set to IGFX, Soft-Off by PWR-BTTN is set to “Delay 4-sec”. Set DVMT memory size to MAX and “Internal Graphics Memory Size” to 64MB. If you want AirPlay Mirroring, make sure Integrated Graphics are set to Enabled even if you plan using a discrete GPU card. Save the changes, insert the USB flash and reboot. If everything is OK, you’ll see the OS X installer welcome screen in a few moments.
As your SSD is completely fresh, you’ll need to partition and format it first before you can install the OS X Mountain Lion into it. From the top Utilities menu select the Disk Utility. Select your SSD from the left pane, then click the Partition tab on the right pane. Select 1 partition, click the “Options…” button below and choose the “GUID Partition Table” option. Give your SSD a meaningful name such as “Macintosh SSD”, select “Mac OS Extended (Journaled)” format and click the Apply button. When the Disk Utility finishes preparing your disk, quit it to return to the installer. Click next, select the SSD as the installation target, accept the license agreement and wait until installation completes.
After the installation is done and computer reboots, choose the SSD you just installed OS X to at the boot loader prompt. Note: if you’re installing to a different disk drive, you may get stack at the OS X loading screen. In that case, see my post about the well known “Still waiting for root drive” problem and how to fix it.
Complete the initial setup prompts, and after OS X boots to desktop, download and run the MultiBeast utility. For the GA-Z77X-UD5H motherboard you will need to select the following options to fully enable the motherboard hardware: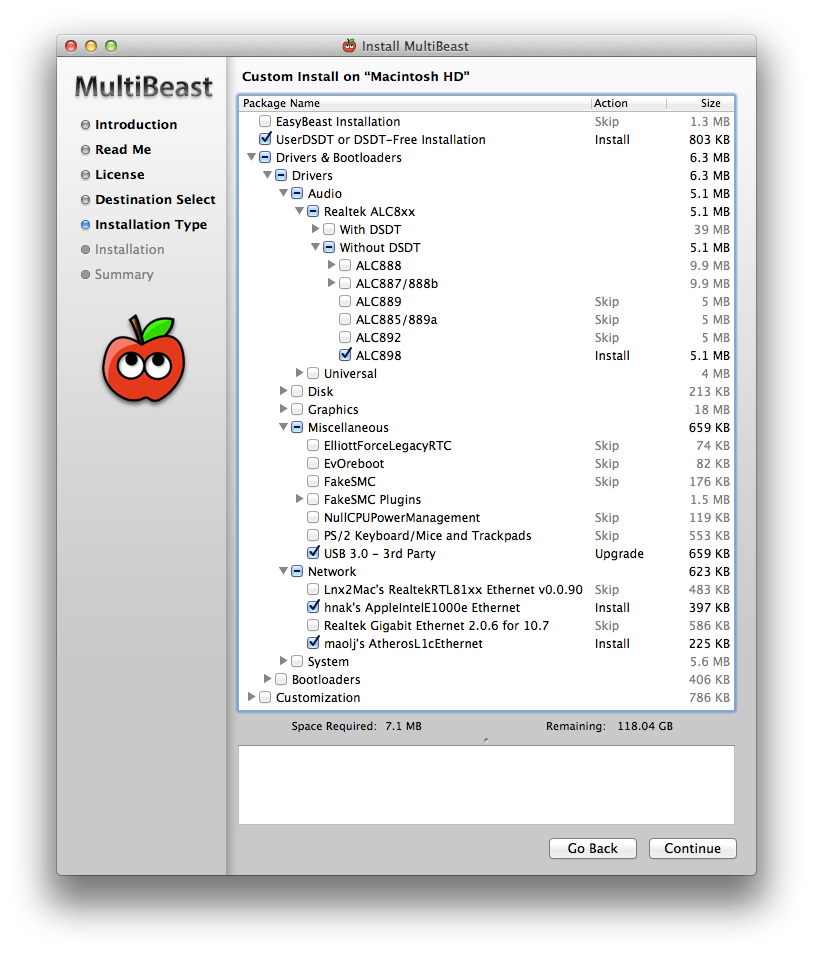
Optionally, you may also want to select Motherboard and Intel plugins under the “FakeSMC Plugins”. Click Continue to install the selected options, when done, quit the Installer. Next, read the following link on how to patch the AppleRTC.kext to avoid CMOS Reset Error on OS X 10.8 Mountain Lion after wake from sleep. Reboot after that, and you’re basically done with your Hackintosh setup!
Benchmarks
At the moment of writing, the “TRIM Enabler” option didn’t work for the Crucial m4 256gb SSD I have used in this build. However, the results I’m getting with Blackmagic Disk Speed Test are quite decent at 511MB/s read and 268MB/s write: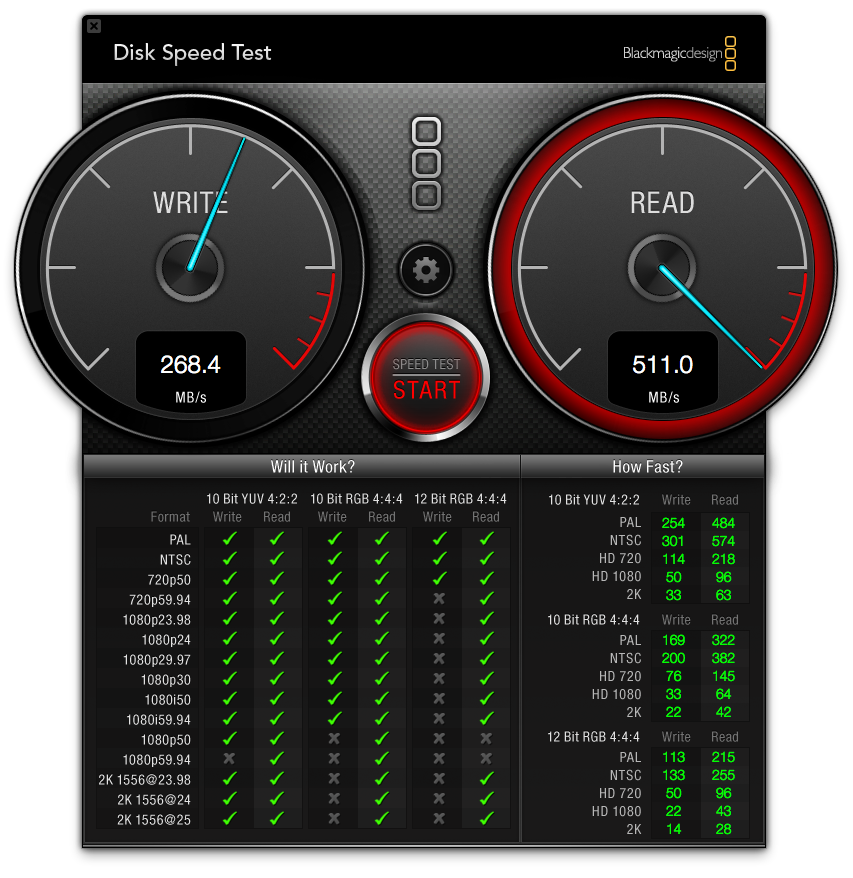
If you’re going to use a discrete GPU card, now it’s time to install it and connect the PCIe power cables from your power supply to the card. On the next reboot, your login screen will automatically switch to the 1st port on your GPU card.



Pingback: Installing Mountain Lion on Z77X-UD5H
hi does the firewire port work with osx 10.8 or di i need to get a pcie card
thanks
Yes, it works, we were able to transfer two tapes worth of video from a DV camera using the built-in firewire port.
Hi,
Did you manage to update it to 10.8.2 ?
I ‘ve tried to use the combo update and reapply multibeast……but nothing worked.
Yes, running 10.8.2 at the moment. Perhaps you need to solve the “still waiting for root device” issue?
Really nice photos and a very good write up. Did the wifi card worked OOB or you installed some kext?
Nope, the card didn’t work at all. All I was able to get is Bluetooth to show up as active, but not able to pair with anything.
is the AirPlay mirroring working? I mean video and audio? Thanks for answer
Yes, it works flawlessly.
Thanks for your answer. Finally i got my airplay working, but after wake up mirroring not working and audio via Apple Tv also not working. What about you?
Thanks in advance
Everything works great here. I was able to fix sleep issues by removing darkwake=X from kernel flags.
Hello again 🙂 I delete darkwake but no luck… Could you please post your org.chameleon.boot.plist entries?
Thanks
I can not get airplay to stay active. it goes inactive after 5 seconds. Which system def are you using and any other tricks i should try. I have only my integrated graphics installed at this time.
Very good and informative presentation, thank you
Hey the thunderbolts ports are work fine? I wanna buy this motherboard, just about the thunderbolt! Thanks very much!
There are no thunderbolt ports on this motherboard 🙂
You’re probably thinking about Gigabyte GA-Z77X-UP5-TH, on that motherboard the thunderbolt ports are detected out of the box, although only the second port works 100%.
Pingback: LetThisNightExplode's Recording Studio Build: i7-3770 / GA-Z77X-UD5H / GTX650 / Mountain Lion, Windows 7
Hey, thanks for such a great write up, very infromative and useful.
I got an almost twin of your system here except for the video card I had a 8800GTS working OOB and yesterday it fried.after installing Windows 7 on paralelis :’-(.
Is there anyway to have the internal graphics working, I mean larger than 1024×768 I’m using VGA Port.
Thanks
Sorry for your loss, Dave. I haven’t personally tried the onboard VGA port as I don’t have old monitors anymore, but the DVI port works OOB. Make sure you enable internal graphics in the bios and set their priority to be first on boot.
Nice blog VAHAN!! One question, does that graphics card support dual displays out-of-box for ML?
Yes, but only via HDMI + DP or DVI + DP.
Pingback: Mac Pro Hackintosh ATX Umbau | Lukas-Bisdorf.de
What did you do to get airplay mirroring working/what system definition are you using? I have same processor/ram/mobo (except TH version and 32GB ram) and it does not work unless i set my system definition to mac mini. I’d rather not run it that way if possible though.
Thanks
p.s. mac os 10.8.3
I’m using a Mac Mini definition… Doesn’t work with Mac Pro ones…
Thanks for this detailed breakdown – very helpful.
Does the Hyper 212 EVO Cooler cover the first RAM slot? Would you be able to fill that slot with a low profile ram stick?
No, it doesn’t cover it. Actually I think you could fit the same memory module pictured as the heatsink base has a small space to shift back and forth on the cpu. The lower profile ram stick would easily fit there, leaving some space.